Configuring App-only Authentication for Exchange Online for Powershell Scripts
Azure AD - Create App Registration
- Login into Azure AD > App Registrations
- Click New Registration menu item, just add the name and click Register.
- (MAKE NOTE) Copy and make note of the Application (client) ID
- Click API permissions menu item. You should see the Microsoft Graph API. Click on the 3 dots and Remove Permission
- Now click on Add a permission.
- Click APIs my organization uses, and search for Office 365 Exchange Online.
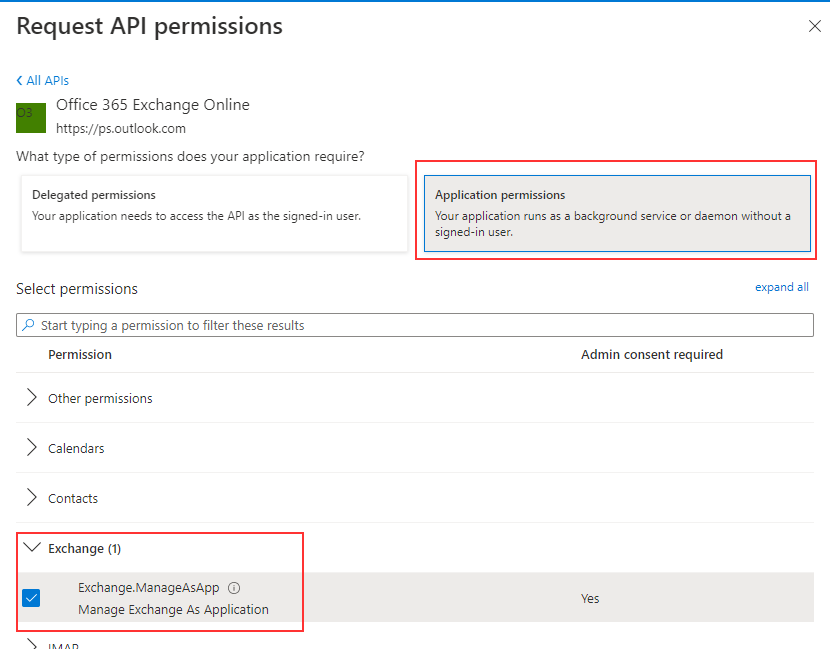
- Click Application permissions
- Look for Exchange, and tick Exchange.ManageAsApp.
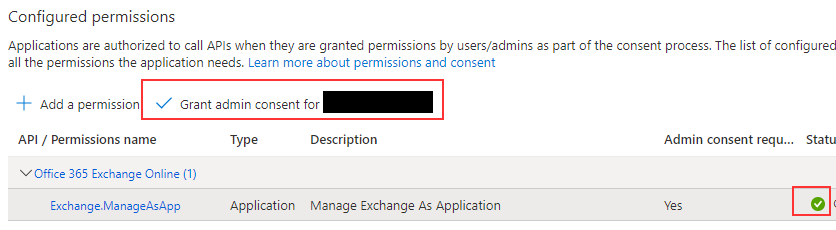
- Finally, click Grant admin consent. You should see a green tick.


Create Certificate
Run Powershell to create a new self-signed certificate. It will create two certs, one .pfx and one .cer.
Azure AD - Upload Certificate
- Back in Azure AD, click Certificates & secrets menu item, and Upload certificate. You'll be uploading the .cer file.
Azure AD - Assign Role
- Go back to the main Azure AD page, click Roles and administrators menu item.
- Search for and click on Exchange Administrator
- Click Add Assignments
- Add the app you created as a member.

Connect
Try connecting in Powershell.

Comments
Post a Comment